This is where the loop closes. Your coding agent builds the app, Monk deploys it to your cloud, and from that point on the software runs autonomously. You describe what you want, and the agents handle the rest.
Connect your coding agent to Monk through MCP so it can call Monk directly. See Connect Your Agent.You can also talk to Monk directly in the chat window (Cmd+Shift+M), but connecting an agent gives you the full autonomous workflow.
3
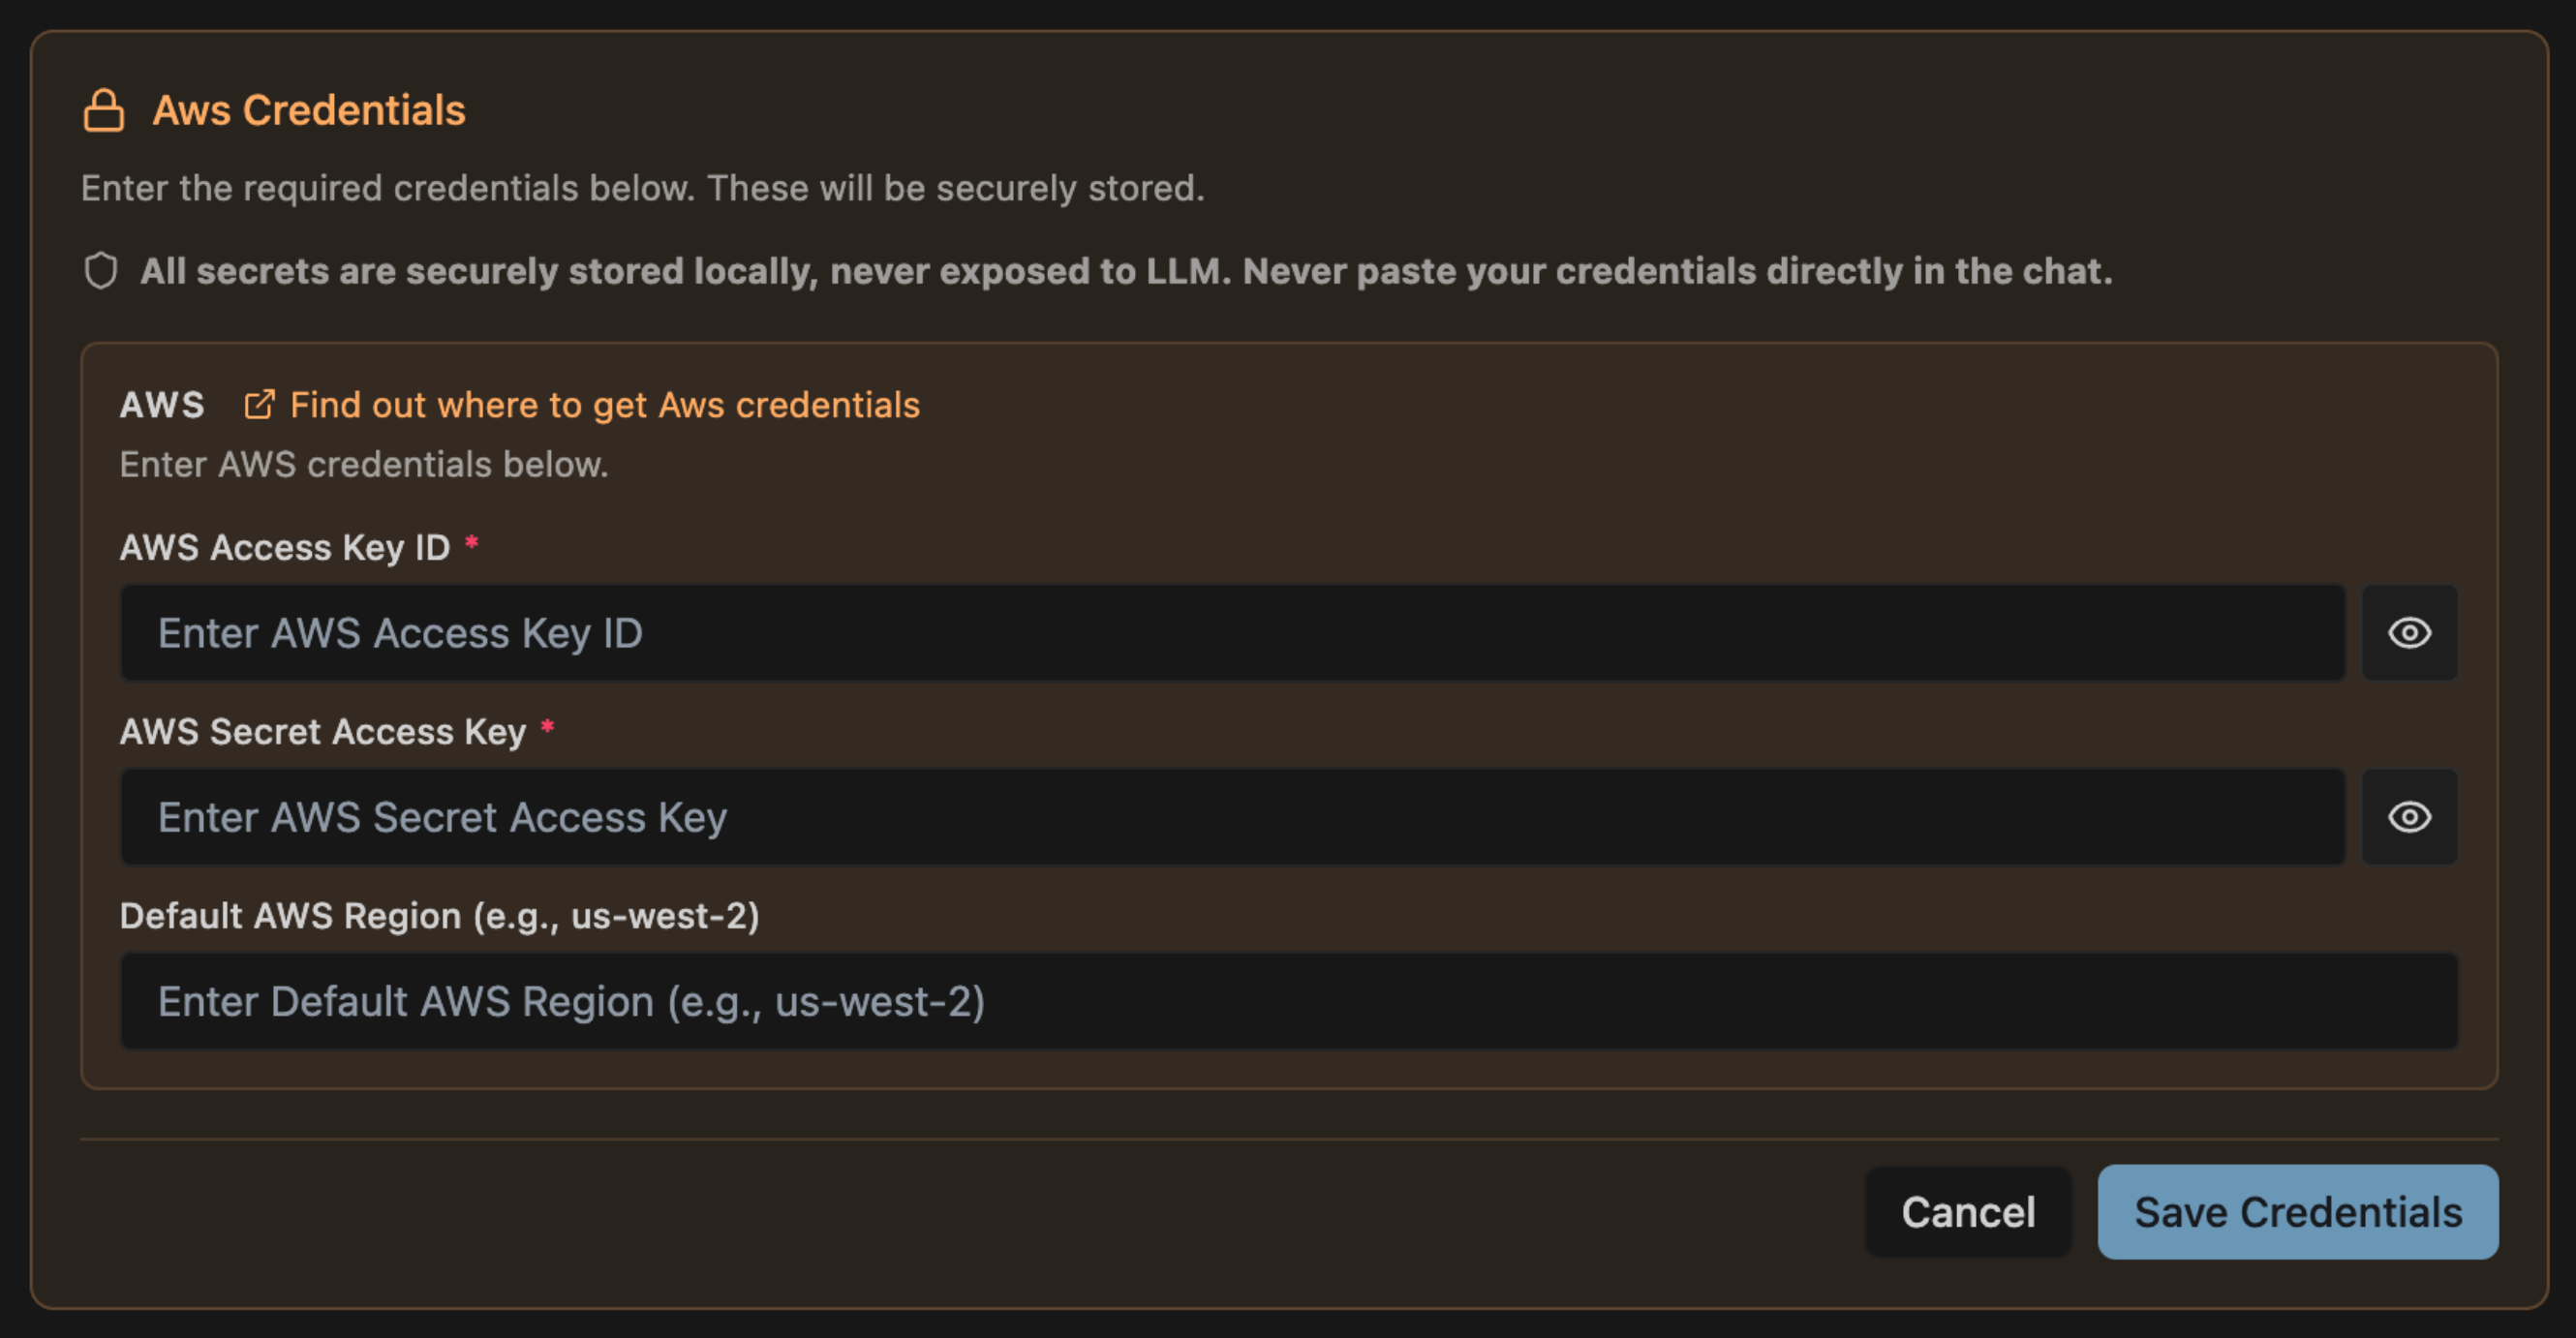
Cloud credentials (optional)
If you want to deploy to the cloud (recommended), have your cloud provider credentials ready. See Obtaining Credentials for AWS, GCP, Azure, or DigitalOcean setup.Want to try Monk locally first? Skip this step — Monk can deploy to your local machine too.
Open your project in your IDE, then tell your coding agent:
deploy this app with Monk
That’s it. No configuration files, no Dockerfiles, no Terraform. Monk analyzes the code, figures out what your app needs, and handles the rest.This works on existing codebases too — even if your project already has a docker-compose file, IaC definitions, or other deployment configuration. Monk uses these to orient itself but does not modify them. Your existing deployment stays working until you are ready to make the switch.Don’t have an app handy? Ask your coding agent to build one and deploy it in a single prompt:
create a simple todo app with a REST API and PostgreSQL, then deploy it with Monk
Deploying to your cloud account will incur cloud provider costs. These vary depending on what you are deploying. Monk always asks for confirmation before creating cloud infrastructure on your behalf. Start with smaller VMs when trying things out — you can always scale up later.
If you want more control upfront, be specific:
deploy this app with Monk to AWS us-east-1 with RDS for PostgreSQL
More detail means fewer questions. Either way works.
Monk will ask for the essentials — cloud provider, region, and credentials if not already configured. It may also ask about service choices when there are meaningful alternatives (managed database vs. self-hosted, for example).Behind the scenes, Monk autonomously:
1
Analyzes your code and identifies services and dependencies
When deployment finishes, Monk reports live URLs, service health, and estimated monthly cost. Your application is running on your cloud.Try asking your agent:
use Monk to show me what's running right now
ask Monk to show me the logs
ask Monk how much this is costing me
Autonomous operations
Your app is deployed — now learn how Monk keeps it running, sets up CI/CD, and monitors your services
Done trying things out? Tell your coding agent or Monk directly:
ask Monk to delete the cluster
This stops and removes all cloud infrastructure Monk created, so you do not incur costs while idle. Nothing is lost — you can always deploy again later and Monk will bring it all back.